


Saarpor
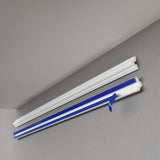
Decorative Strip Moulding (Rebecca SKFP 25) - Pack of 10
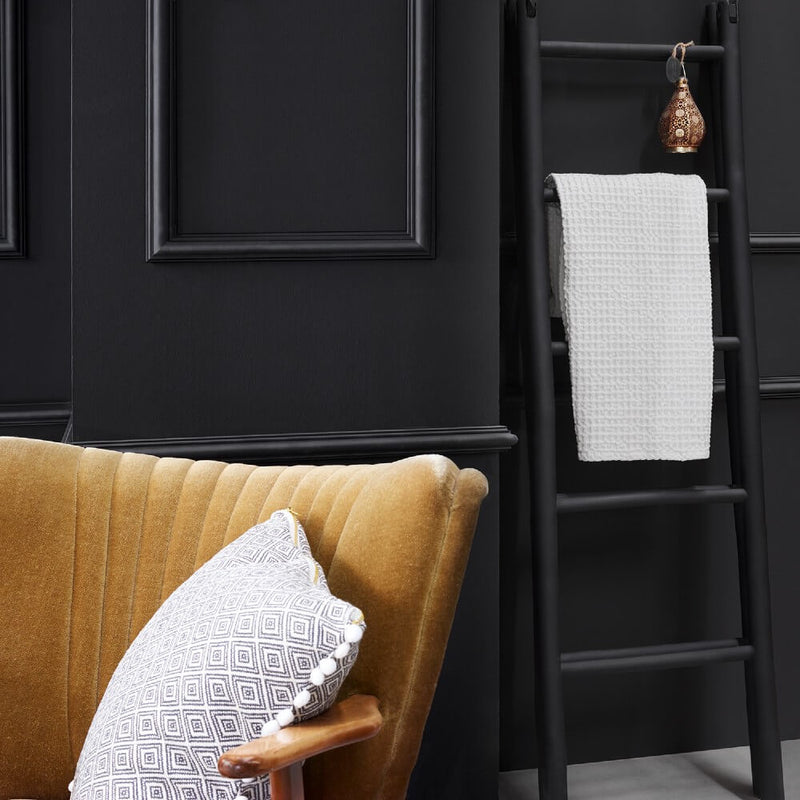
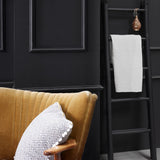
Creating decorative panelling or a creative interior feature has never been easier with these new self-adhesive decorative moulding strips.
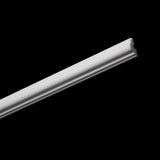
The Rebecca decorative moulding strip has an elegant Georgian inspired 20 mm slimline profile, perfect for creating a panelling effect or dado rail in any room you wish or creating a unique interior feature.
Manufactured in Germany to an exacting high level of quality, these strips are beautifully finished, extremely robust, and durable. They are also fully paintable and very easy to apply for a range of dramatic interior effects.
The adhesive strip on the reverse of the decorative moulding has been specially developed to offer a very high level of adhesion and longevity.
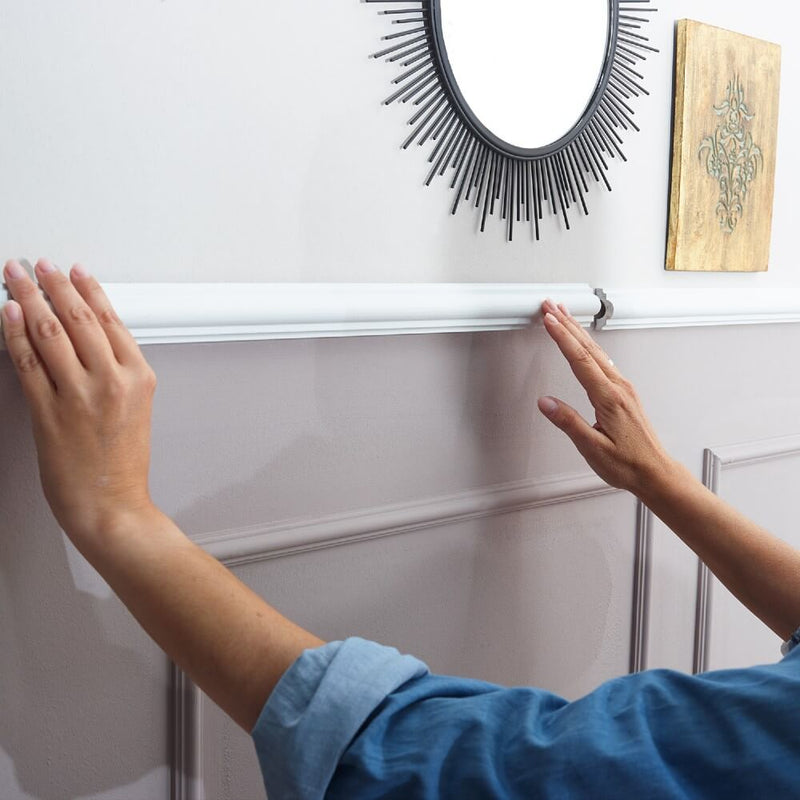
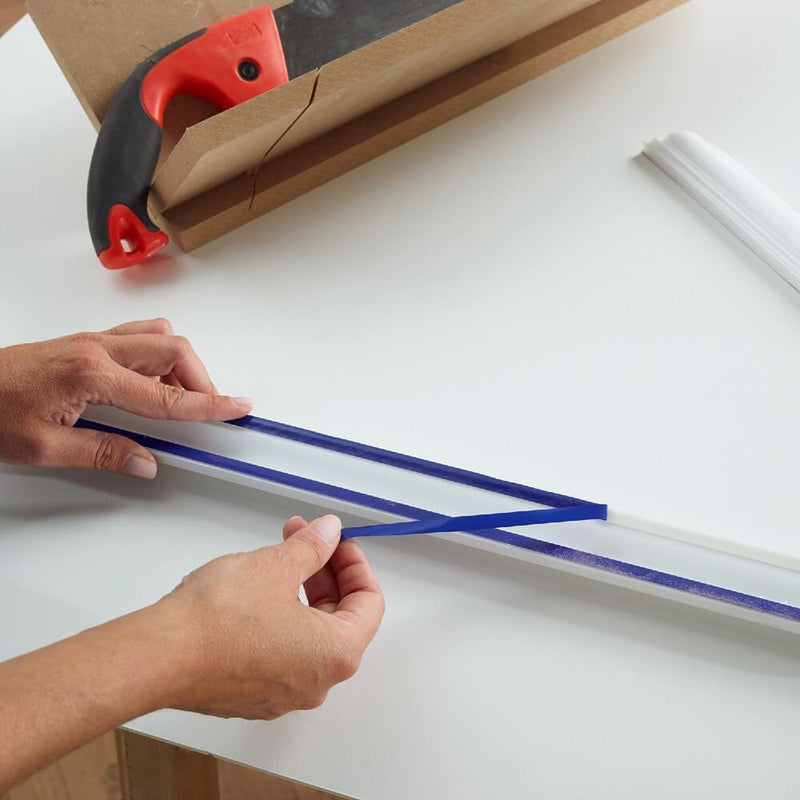
No messy or inconvenient adhesive application: simply remove the protective blue film on the reverse of the strip and apply in place.
.
| Profile width | 20mm |
| Length | 1.5 Metre |
| Pack size | Available in packs of 10 strips. |
| Application | Self-adhesive, simply remove blue protective film and apply in place. |
| Finish | Solid white finish, shock resistant material with extremely hard surface. |
| Material | Extruded high-density Polystyrene (stronger than wood). |
| Painting | Can be painted with any paint. |
| Fire Classification | B2 according to DIN 4102 |
| Eco friendliness | CFC-free, healthy room conditions, not damaging to the health, recyclable, non-hazardous waste. |
Before attempting to hang the self-adhesive moulding strips, the wall surface must be clean, dry, firm, relatively smooth, and able to bear load.
Take the time to measure and mark out on the wall using a pencil where you plan on hanging the moulding strips.
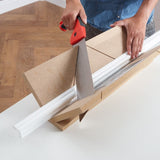
If you are creating panelling, visually check all your pencil markings to ensure you are happy with the overall spacing: you can now use these markings as a template for the molding strips and subsequent angled cuts you will need to make.
Before fixing the decorative moulding strip, the corners should already be cut using the mitre box and fine tooth saw. Peel away circa 5 cm of the blue protective film from the end of the length, fold out away from the moulding to allow the coving strip to be placed on the wall and carefully moved into position. Now the full length of blue protective film can be carefully removed while making any final adjustments to the positioning of the moulding on the wall. Finally, press the moulding strip firmly onto the wall for circa 5 seconds to ensure complete contact is made.